Beef Broth from Scratch (24-Hour Bone Broth)
By Sara Lindgren · Nordic Approaches · Updated 2026-05-08
Roast beef bones, simmer 24 hours with cold water and salt only. Yields 8 cups of gelatin-rich broth at $1 per cup. Clean carnivore alternative to canned.
Carnivore beef broth is 4 pounds of beef bones (a mix of marrow bones and knuckle joints) roasted at 400°F for 30 minutes, then simmered in 12 cups of cold water for 24 hours with 1 teaspoon of salt. Yields about 8 cups of gelatin-rich broth at 40 calories, 10g protein, and 1g fat per cup. Salt is the only seasoning — no celery, no carrot, no onion, no peppercorn, no apple cider vinegar (vinegar pulls minerals but is fermented plant matter). The broth gels solid in the fridge from collagen breakdown, which is the correctness signal — if your broth doesn't gel, simmer time was too short or bone-to-water ratio was off. Beef bones cost $0 to $3 per pound from butchers (most discard them or sell at a loss); commercial bone broth runs $6 to $9 per quart at Whole Foods. Making at home costs roughly $1 per cup and tastes meatier than any commercial version.
Ingredients
| Ingredient | Protein | Fat | Calories |
|---|---|---|---|
| 1 cup gelatin-rich beef broth (per serving) | 10g | 1g | 40 |
| Salt (per serving) | 0g | 0g | 0 |
| Per serving | 10g | 1g | 40 |
Macros per serving (after cooking and any fat draining). Source: USDA FoodData Central.
Instructions
- 1
Preheat oven to 400°F. Spread beef bones on a sheet pan and roast for 30 minutes until deeply browned. The roast is what gives the finished broth its dark color and roasted flavor.
- 2
Transfer roasted bones to a 6-quart slow cooker or stockpot. Pour in 12 cups of cold water — the cold start helps clarify the broth as proteins coagulate gradually.
- 3
Add 1 tsp salt. Set slow cooker to LOW (or stovetop to a bare simmer — bubbles barely breaking the surface).
- 4
Simmer 24 hours. Skim any foam off the surface during the first 2 hours; ignore the small fat layer that forms later.
- 5
Strain through cheesecloth-lined fine-mesh strainer into a clean container. Discard the solids.
- 6
Cool to room temperature, then refrigerate. The broth will gel solid in 4 to 6 hours — this is the gelatin from properly extracted collagen.
- 7
Skim the cap of solidified fat off the top before reheating (or leave it for richer flavor — your call).
- 8
Store refrigerated for 5 days, or vacuum-seal in 1-cup portions and freeze for 3 months.
Nutrition per Serving
Frequently Asked Questions
Why no apple cider vinegar?
Most online bone-broth recipes call for apple cider vinegar to 'pull minerals from the bones.' Apple cider vinegar is fermented apple juice — plant matter — excluded from strict carnivore. The mineral-extraction claim is also overstated: a 24-hour simmer pulls plenty of minerals on its own without acid. If you're not strict carnivore, vinegar is fine; this recipe is the strict version. The gel at the end confirms the collagen extraction worked regardless of vinegar.
Why does my broth not gel?
Three common causes. First, ratio — too much water for the bone weight (more than 4 cups per pound of bone) dilutes the gelatin. Second, bone selection — marrow bones alone don't gel; you need joint/knuckle bones for collagen. Third, simmer time too short or temperature too high (rolling boil breaks gelatin instead of extracting it). Re-run with a 60-40 mix of marrow + joint bones, 12 cups water for 4 pounds of bones, and a bare simmer.
How is this different from store-bought bone broth?
Store-bought bone broth typically uses 4 to 8 hours of cooking time vs 24 hours, and most include vegetable additions for flavor. The result is a thinner broth with less gelatin and a flavor profile closer to consommé. Homemade 24-hour broth gels solid, has 2 to 3 times the protein per cup, and tastes intensely meaty rather than vegetal. The trade-off: time. Most home cooks make a batch every 2 weeks rather than weekly.
Track This Meal in Carnivore Max
Log this recipe, track your macros, and stay on top of your carnivore diet.
Download Free on iOS →You Might Also Like
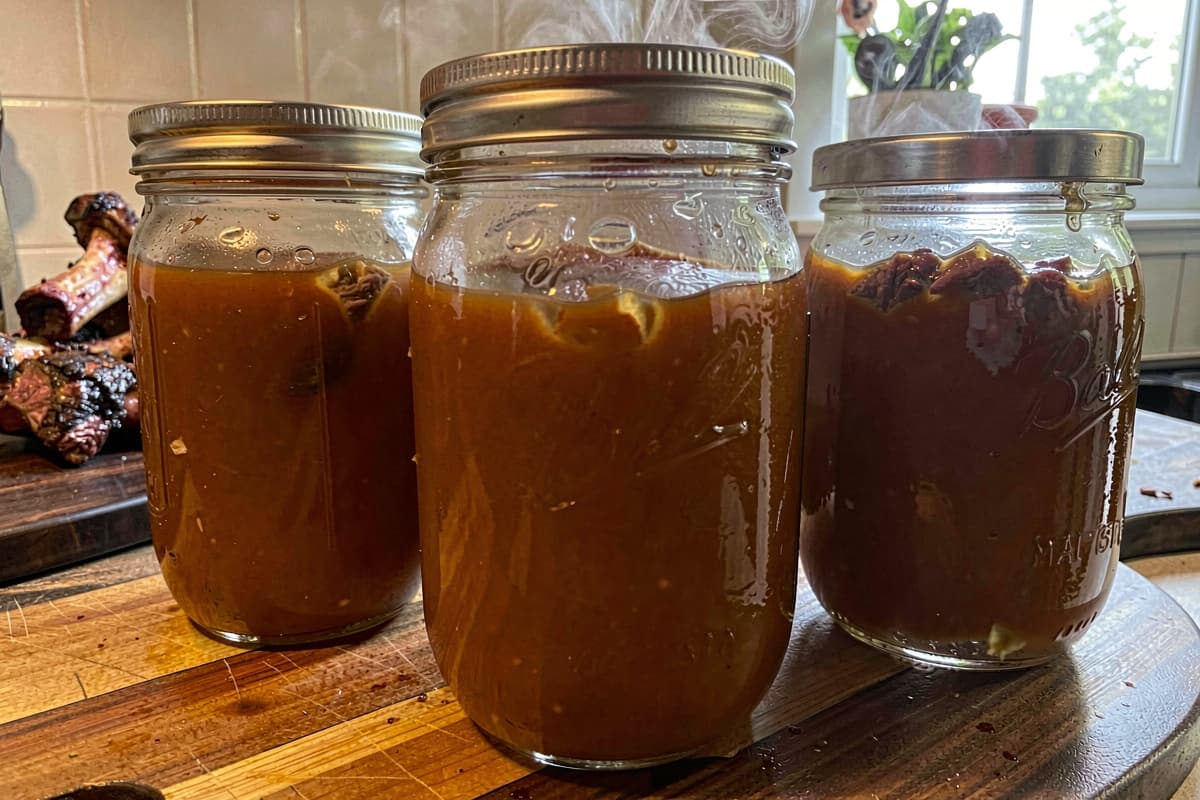
Rich, gelatinous bone broth packed with collagen and minerals. 24-hour slow simmer. 10g protein and 40 calories per cup. Sets to soft gel when cold.
RecipeRender 1 lb of beef suet into 12-14 oz of clean cooking tallow in 6-8 hours. Free from butcher trimmings, shelf-stable for 6+ months. 400°F smoke point.